How To Create A Screencast Video In 5 Simple Steps
People who have never made a screencast video before assume that it is a complicated and long process, and you need to have a stronghold of expensive equipment and software to create a screencast video.
Luckily, this is not true. If you want to create a good, professional screencast video, you do not need to do any special video editing course or buy any expensive software. In fact, if you are a basic content creator, you can also create a screencast video without breaking a sweat.
You do not need to be a master of editing to create a screencast, and it is more like riding a bike. You will never forget it once you have learned it. So, if you want to learn how to make screencast videos, then you are at the right spot.
In this guide, we will be discussing how to create a screencast video in five easy steps. We shall also include a list of benefits and the equipment you need to record a screencast video. So, if you are curious and want to learn more, then keep on reading.
What Is A Screencast Video?
Before we get on with the steps to create a screencast, it would be best to first explain what a screencast video is. To put it in simple words, a screencast is a recording of your desktop screen. Most of the time, it also has an audio in the background, which guides the viewers throughout the process.
Screencast videos are extremely useful when it comes to creating demos, presentations, and tutorial videos. You can create a screencast to show the viewers how to use software, complete a special project, go through a website, etc.
You can save these screencasts in a video format and share them with your friends or on your social media channel. These videos are a great way to teach, train, and learn something new without any visual barrier.
If you are wondering what a screencast video looks like, remember the time when your system got stuck with a technical issue, and you checked on YouTube for a solution? There, you found a video guide explaining how to fix your problem with footage, that is what a screencast video looks like.
With the evolution of time, screencast editing software has also evolved, and today, you can find more than a hundred screencast recording and editing software online.
Some software like Camtasia and Snagit also features some cool built-in tools to make your screencast videos look more appealing. You can add transitions, effects, and annotations to your screencast videos and make them more interesting, professional, and enjoyable.
Benefits Of Creating A Screencast
People all over the world use screencast videos for multiple purposes. Other than creating content for social media, screencast videos have also taken over workplaces as well. How?
Companies use this technique to onboard new staff members, create how-to videos for new work software, and also to build communication within different departments.
As we all know, effective communication is the ultimate way to have a smooth business run. Also, people appreciate video content more rather than reading long blogs online to find a solution. With video content, you can easily communicate with the viewers and provide them with an easy solution.
Here are some key benefits of creating a screencast:
1. Complete Visual And Audio Experience
Everyone has a unique style of learning. Some like to learn by listening, whereas others prefer visual or readable content. This is one of the reasons why screencast videos are an all-in-one teaching solution that can cater to every business and learning style.
With Screencast, you can make special files that mix sounds, notes, and pictures to help people learn better. You can add text on the screen and talk simultaneously to explain things. You can also put words at the bottom of the screen for those who like to read.
2. Great For Learning And Teaching
Covid has shown us that teaching is not restricted to classrooms. You can teach people through online mediums, and this is where screencasting comes in handy.
As a teacher, you can use screencast techniques to easily share information with your students, colleagues, viewers, employees, etc. Also, the video content provides you with a no-time limit zone. So, you can go as comprehensive as you like with your information.
Also, you would not have to repeat what you just said, as the viewers can simply reverse the recording and re-watch the point that they missed.
On the other hand, if you are a learner, screencast videos will give you the liberty to learn at your convenience. You would not have to worry about being physically present in the session anymore.
Explore our screencast video services to effectively demonstrate, teach, and impress with crystal-clear visual tutorials.
3. No Fancy Equipment Needed
One of the things that make screencasting a go-to for so many people is the fact that it is extremely easy to use and easily affordable. It was not long before you needed expensive software, high-class tools, and heavy equipment to record a good, professional-looking video.
But for screencasting, all you are going to need is a working computer and software that can record your screen.
The majority of computers have built-in screen recording tools that you can use to record and create a professional screencast video without spending a heavy amount of money.
If you are planning to record just the video, then you are good to go. But if you want to add audio to it, even then, you would not need much, just use a microphone, and you are good to go.
Even though you can use free screen recording software, including the one that’s already on your computer, they don’t have as many cool features and options as Camtasia and Snagit.
Let us break it down, with Snagit, you can make pictures into videos and record multiple things like your face, your screen, and the sounds on your desktop, either one at a time or all together.
On the other hand, with Camtasia, you can easily edit videos, which helps create good-quality screencasts quickly using ready-made designs.
Screencasts are also very handy because you can easily put them on the internet. After you make one, you can upload it to different platforms like YouTube or Vimeo so that others can watch it.
4. Easy To Navigate
One of the best things about screencasts is that you have the liberty to learn at your own pace. You can take a break and get done with other tasks in the middle, and even go back to a section if you miss anything.
These features allow people to have the freedom to take notes and understand everything without stressing about missing any details.
5 Easy Steps To Create A Screencast Video
If you are curious about making a video where you record your computer screen, it’s good to know that with the right tools and some video editing skills, you can make a screencast that looks and sounds good.
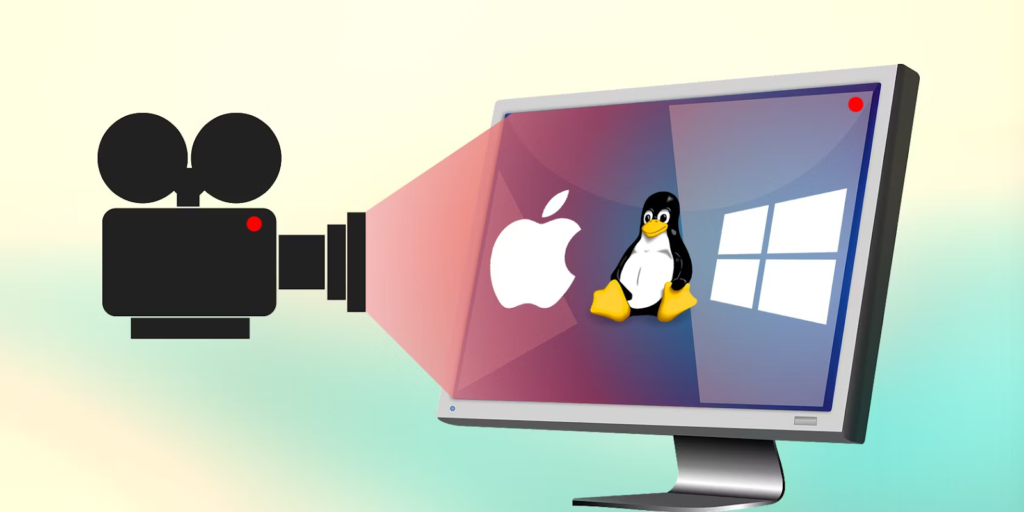
We have come up with an easy five-step method to help you learn how to create a screencast on a Windows PC or Mac.
You do not have to be a tech expert. Whether you are making a video to demonstrate a product, teach something, or for any other reason, our method will help your screencast be interesting, informative, and professional.
If you want to excel at making screencasts, follow these five steps:
1. Pick A Screen Recording Software
You have many options when it comes to picking software to record your screen. Some devices come with a built-in basic screen recording tool, but it might not have all the features you want.
These built-in tools are fine for basic screencasts, but if you need something more professional and flexible, you should consider using special screen recording software like Camtasia and Snagit.
Snagit is perfect for people who want a simple and easy way to make screencasts. It has an extremely user-friendly interface. You can take pictures of your screen or record videos with this software. Snagit also allows you to add text to your pictures and videos and then share them with others.
If you want more advanced software, Camtasia is the better option. It comes with a variety of tools for editing videos, which is great if you want to make professional screencasts.
With Camtasia, you can record high-quality video and sound from your screen, change your video, and put cool effects and animations to make your videos more interesting.
In short, if you only want to record your screen simply, Snagit could be the right pick. But if you want to do fancy video editing and make top-notch screencasts, Camtasia is a better choice. It all depends on what you need and what you like.
For the process forward, we shall be giving a walkthrough on Snagit.
2. Prepare To Record
Snagit gives you the option to record all of your screen or just a specific portion of it. If you want to capture the entire screen, we suggest that you clear up your desktop, such as changing any busy backgrounds, hiding your files, and turning the notifications off to avoid distractions.
For a better and smoother screencast, it is a good idea to plan what you want to say. You can prepare a script of everything you want to talk about. If you want to keep it simple, just make a list of the main things you want to mention. This way, you will not get distracted and cover all the important stuff in your video.
Before you start recording your screencast, it would be smart to do a few practice runs. This can help you pinpoint any difficulty and make sure your recording goes well. Take your time to get ready and practice to make sure your screencast looks and sounds really good.
3. Record The Screen
Now is the time to start recording! You should start by choosing whether you want to record everything on your screen or only a specific part of it.
Even if you skip a full practice, it would be best if you do a quick test recording. It will help you make sure your audio settings are just right so your voice and any other sounds can be heard clearly.
Keep in mind if you make a mistake while recording, you do not have to stop and start over from the beginning. You can just keep recording and fix your errors later while editing. Snagit makes it quite simple, so don’t worry too much.
4. Edit The Recordings
If you can record a perfect screencast in one go, that’s a win! But the truth is, a lot of people do not get it right on the first try and make little mistakes at some point, whether it is their first try or their hundredth. But nothing to worry about. We all make mistakes.
The good thing is, with Snagit, it is super easy to remove those mistakes when you’re editing your video.
5. Export And Upload
After you have successfully recorded your screencast, the last step is to show it to the people you want to see it. Snagit gives you many options to share your screencast with others, making it simple and convenient.
You can share your screencast in lots of places that people use, like Google Drive, Dropbox, Slack, and Outlook. You can also save your screencast as a video or a GIF on your computer if you want to change it some more.
Get Professional Screencast Services
If you want to make it big in the video content industry, but you are not sure how to edit videos, or if you want them to look exceptionally good and professional, then do not worry. Hancock Animations has got your back.
Our team of expert video editors provides all sorts of video editing services, be it screencast or any other video. We shall make sure to turn it into an informative piece of content.
FAQs
To screencast a video, use screen recording software, select the area to record, set audio preferences, and start recording. Save the file once done and edit it if needed for a polished video.
Screencasts are utilized to demonstrate software features, create tutorials, provide presentations, or showcase tasks on a computer screen. They offer an effective way to visually explain processes, share information, and teach viewers step-by-step instructions.
Screen mirroring replicates your device’s entire screen on another display, while casting involves sending specific content, like videos or images, to another device (e.g., TV or speaker) without mirroring the entire screen. Mirroring duplicates everything, while casting selectively shares content.
There are various software options available for screencasting, including Snagit, Camtasia, OBS Studio, and more. You can choose one based on your specific needs and budget.
Most screencasting software includes built-in editing tools for trimming, adding annotations, captions, and other enhancements. You can use these features to refine your recording.
You can share your screencast by uploading it to video-sharing platforms like YouTube or Vimeo. You can also share it directly with others via email or by providing a link to the video file.